I created this gift for my friend who was graduating from college. It seems like money is the most needed or practical gift for any graduating student, but a few bills in a card doesn’t often feel very personal or special. Since my friend and I share a deep love for pizza, I decided to come up with a way to give money in a more unique and memorable way.
Box
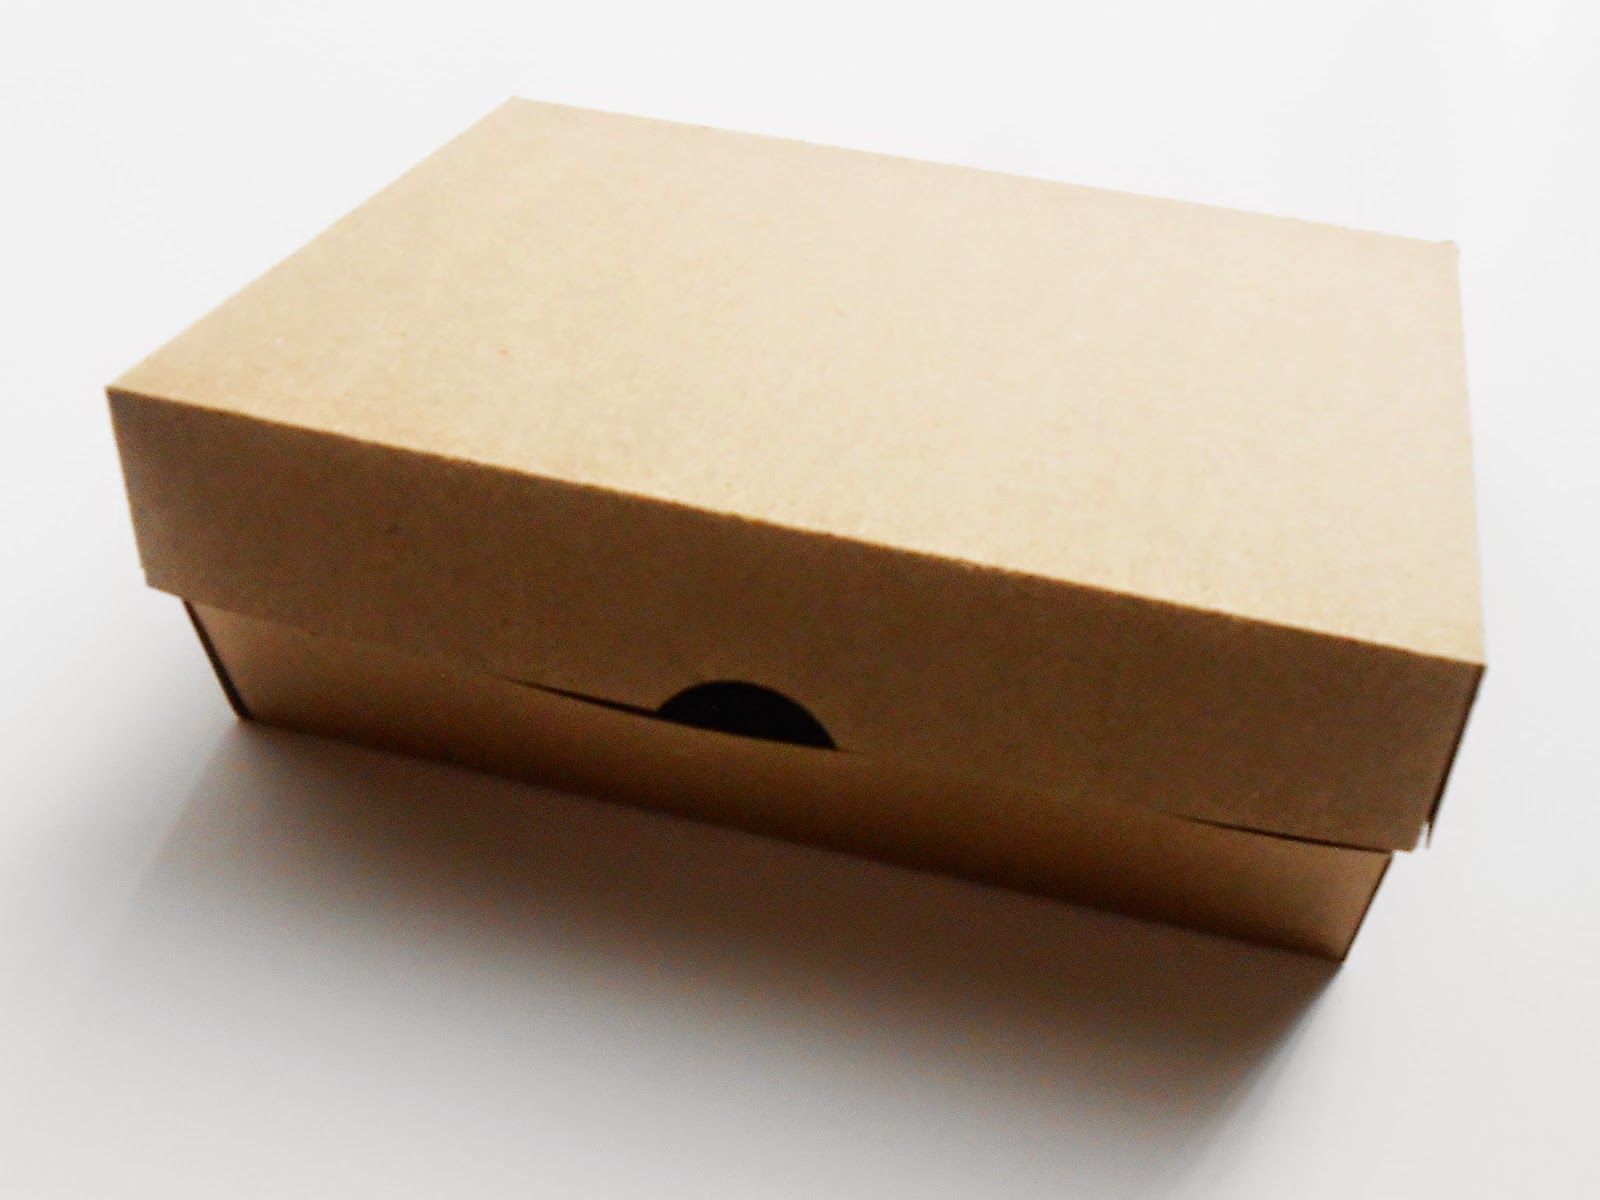
I liked the idea of putting my money pizza in a little pizza box, but didn’t have a box or know how to make one easily. So I searched for ideas and found this easy way.
Follow the link above for more specific instructions and photos, but here is a quick rundown of how I completed the box. Overall, I found that the box made the gift feel even more authentic and unexpected.
What You’ll Need:
• One 12"x12" sheet of cardstock
• Pencil
• Scissor or paper cutter
• Butter knife or scoring tool (to create creases)
• Double-stick tape or glue stick
• (optional) Circle punch
Directions:
1. Trim the 12"x12" paper to 8"x 12".
2. Using a butter knife or scoring tool, crease at 1", 5 1/2", 6 1/2", and 11” on the long side of the paper.
3. Rotate your paper 90° and score at 1" and 7”.
4. Use the scissor to cut downward from the first score line to the second score line. This will create the flaps that will allow you to fold and assemble the box together.
5. Fold the box together, using the double-stick tape to adhere. Make sure the flaps are inside the box when you adhere, to create a more pleasant look.
6. Finally, if available use the circle punch to create a half circle in the center of the lid. This will assist with opening and create a finished look.
Here is a photo of the final product:
Pizza
What You'll Need:
• Assorted colored paper or cardstock (for pizza shape and any toppings)
• Ruler
• Scissor
• Glue stick
• Bills and coins
• Tape
Directions:
1. After completing the box, cut out your pizza slice. I used a ruler to draw out a triangle for the pizza before cutting. Keep in mind the size of the box.
2. Now cut out any toppings you may want. I simply cut different sized rectangles to represent cheese and peppers. The coins will act as pepperoni.
3. Take your pizza shape, paper toppings, and a few coins. Lay them out before attaching to create a pattern. Now, assemble the paper toppings onto the pizza shape using the glue.
Then, attach the coins using the tape (this way they can be taken off more easily.)
4. Now comes the most important part of the pizza; the money portion of the gift. This will be the crust of the pizza. To do this, take your bills and roll them. Instead of rolling the bills into an even roll, push the bills out so that it spreads across the entire top of your pizza. I found this process looked a little better if you use more than one bill, but one bill can also be
spread out to create a nice looking crust.
5. Finally, finish your gift by placing the pizza in the box. I used tape to attach it to the bottom of the box and prevent it from flipping around. Now, give it to a friend and enjoy the look on their face as they open their little pizza! (Hopefully they aren’t too disappointed it isn’t a real pizza.)
Here are some photos of the final product:


No comments:
Post a Comment