

This is my go-to project if I ever want a new journal to keep special items, or just want my own unique notebook to carry with me. The first time I made this was in a 10th grade art class, when we had to create sketchbooks using this method. After we finished them, each week we had a homework assignment that we had to draw inside our homemade sketchbooks. I had such excitement filling up the book with different drawings, and the final product remains one of my favorite projects I did in high school. My favorite part is choosing fabrics and deciding how to decorate the book. While the project is very easy once you get the hang of it, I included step-by-step photos to help make the directions more clear.
What You’ll Need:
• Fabric (about 1/4 of a yard should work)
• Cardboard (a cereal box works well)
• Scissors
• Hot glue gun
• Embroidery floss
• 10 sheets of paper (printer paper works fine)
• Ruler
• Pencil
• Needle
• Embroidery floss
• Felt
• Colored cardstock
• Acrylic glue
• Paint brush
• Decorations (glitter glue, gems, etc.)
• (optional) Rotary cutter
• (optional) Paper trimmer or X-Acto knife
1. Begin by preparing your sheets of paper. You can cut the pages down to the size you desire.
2. Now, cut your cardboard into two pieces. These will act as the front and back cover. Use your prepared sheets of paper to size the cardboard appropriately. You should size the cardboard about 1/2" longer on each side. This will prevent the paper from sticking out from the book.

3. With your paper and cardboard ready, cut your fabric. To determine how big your fabric needs to be, lay your cardboard pieces on top and keep about 1 1/2" to 2" inches around each end. You may also want to iron the fabric if there are wrinkles.

4. Making sure your fabric is face down, place your cardboard over the cut fabric. Make sure there is about 1/2" in between the pieces of cardboard (this leaves space for the pages.)

5. Use the hot glue gun to attach to the fabric to the cardboard. Begin by applying a dot of glue to each corner and folding down. Once the corners are completed, go down each side with a line of glue and fold snuggly against the cardboard.


7. Take the sheets of paper, ruler, and embroidery floss. Cut about 2 feet of floss. Thread your needle and double knot the end.
8. Open your pages so the center is facing you. Pencil a dot in the center of the paper. From that dot use the ruler to make a few marks each way (I marked mine 1 1/2” and 3” past the dot each way) This step will depend one how long your paper is, but have at least 5 dots down the side.
9. Flip the paper over and mark in the same spots down the back. To find the same center you used on the other side, use the needle to poke a hole.
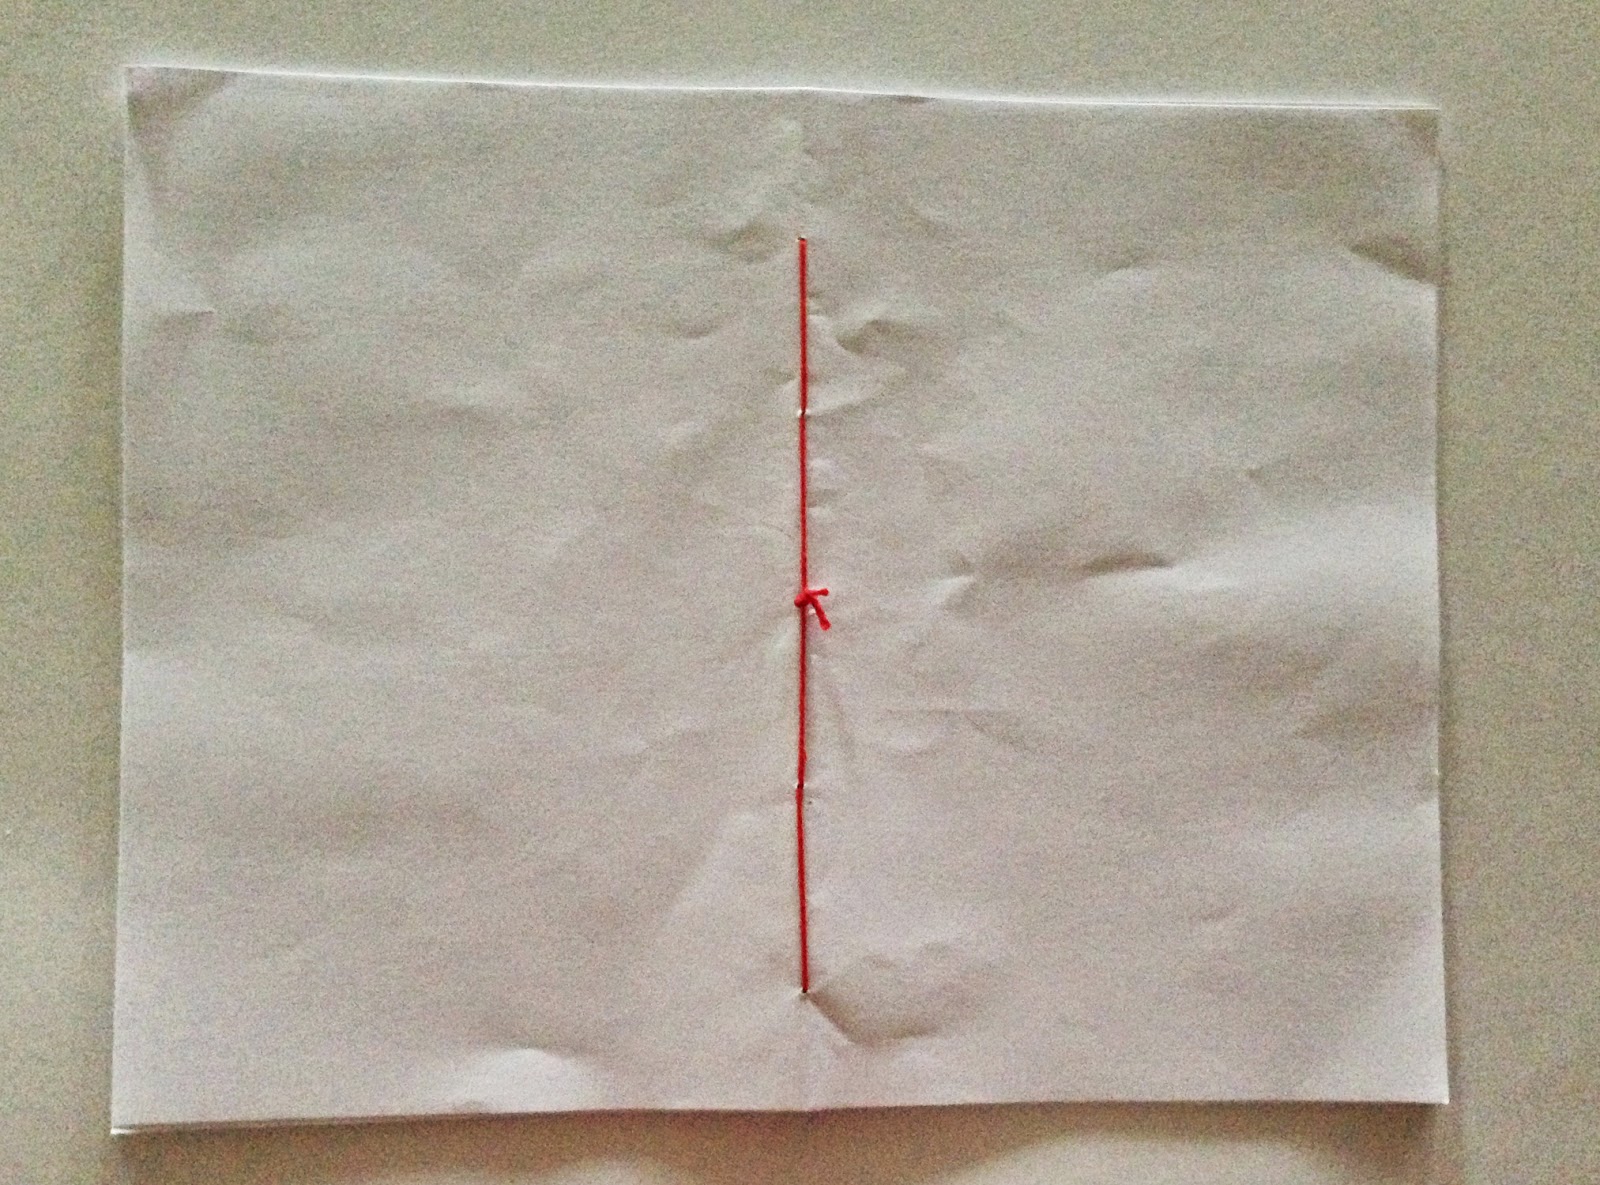
10. Using your threaded needle, begin sewing the paper by poking the thread through the back. The paper may be hard to get through during the first poke, but try to not crinkle the paper too much. Go up one side, pulling the needle in and out, and return back to the center. Once back at the center, go down the other side, and return to the center again before tying a knot in the back. Trim the excess embroidery floss.


11. Take the finished pages and align them inside your cover. Brush glue on the first and last page to attach to the cover. Press to smooth and avoid large bumps.


12. Now, using your colored cardstock, cut two equal pieces that cover the pages you just glued (the cardstock should be just a little bit bigger than your pages, but smaller than the cover.) Brush glue over one side the cardstock and securely place them on the inside front and back, covering the white of your pages. Smooth the card stock by rubbing, and allow time to dry. You could stick the book underneath something heavy to make sure it stays completely flat.


13. Once dry, it is now time to decorate! I used felt, gems, and glitter glue.


Here are some photos of the final product. Also included is a version I made earlier, which I use as a reading log!


No comments:
Post a Comment