

I made these bookmarks after wanting to have something cute to place in my books, but didn’t want to spend money on something I didn’t really like. What’s fun about these is braiding the little tassels, which really completes the ombre look. I completed my bookmarks by decorating them with a few of my favorite pictures, which I styled to look like mini Poloroid photos!
What You’ll Need:
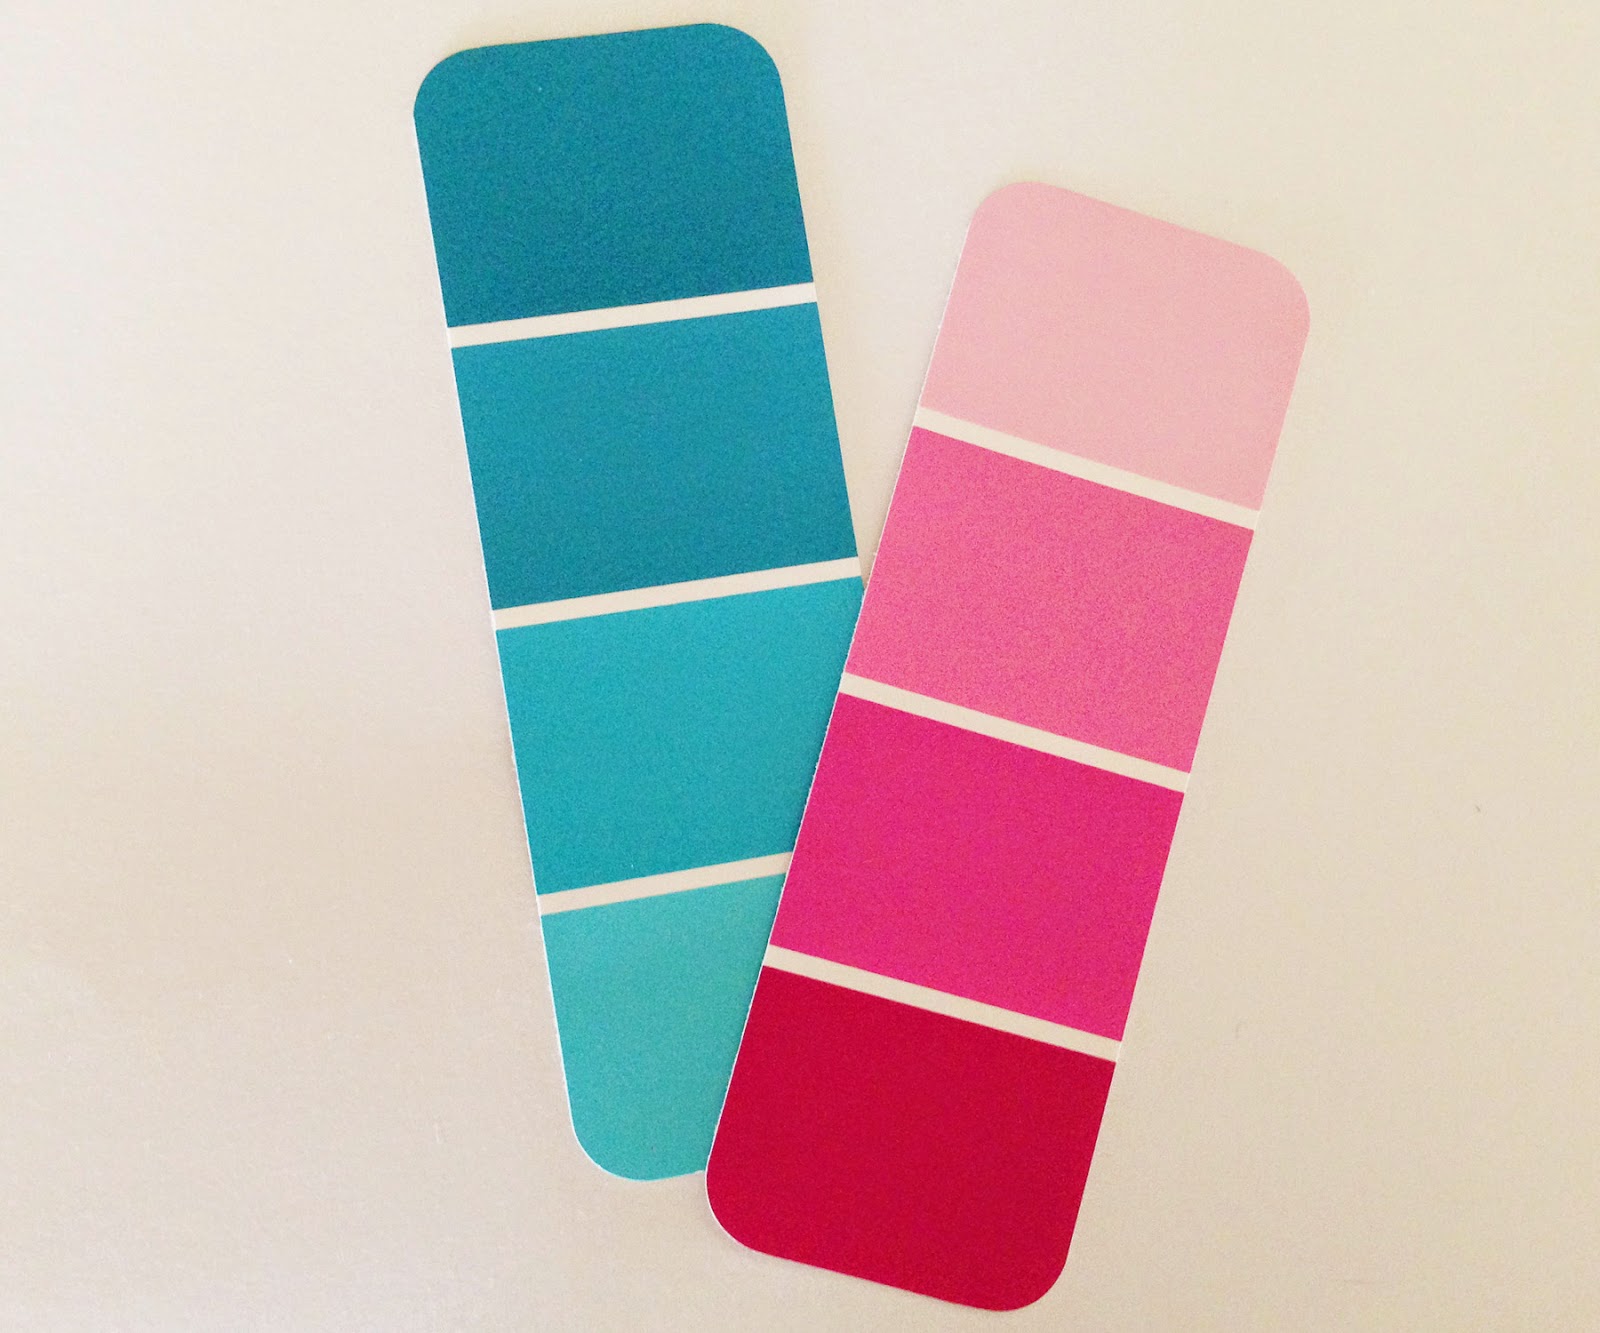
• Paint chips (the multicolored ones are best)
• Colored embroidery floss (preferably similar colors to your paint chips)
• Scissor/ paper slicer
• Hole punch
• Decorations
• (optional) Corner rounder
1. Trim your paint chip to 2” in width. The height is up to you, but I just kept it the length of the paint chip. After trimming, I then used a corner rounder on each side.


2. Use the hole puncher about 1/2” down the middle center. This is where you will place your tassel.
3. Prepare your embroidery floss by cutting three equal pieces, about 12” in length. I used three different shades of the same color to continue the ombre.


6. You will have six strands of floss. Put each of the same color together, so that you have three strands.

7. Braid using the three strands of color. Tie another secure knot when you have about 2” of floss remaining. Trim the tassels so they are even.

8. To complete your bookmark, decorate! Photos, magazine clippings, or fun hole punch shapes work well.

Here are some photos of the final product:


No comments:
Post a Comment