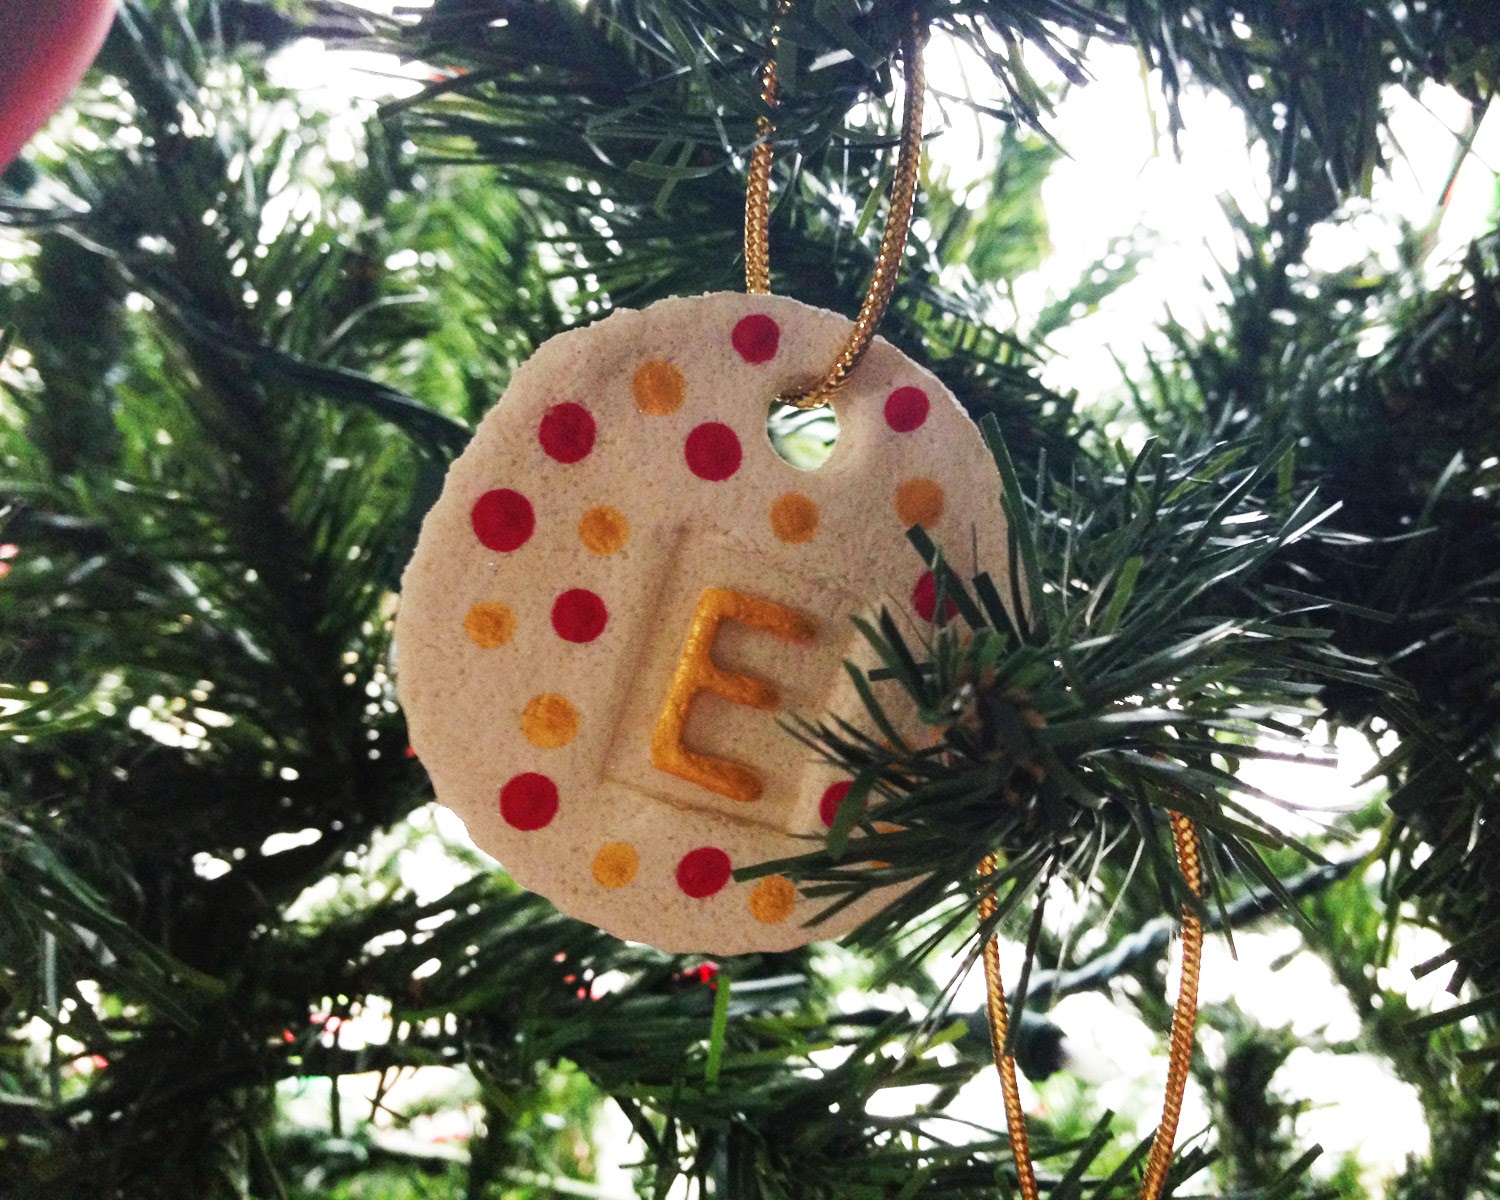
Like my previous craft project, I found this project on Pinterest and finally got around to trying it out. I’ve been wanting to try making a salt dough for a few years now, and was excited to see how they would actually turned out. I finished painting them this week, just in time to put them on my Christmas tree! Even though Christmas is now over, I think this project would be a perfectly fun craft to do during any holiday or season. Besides ornaments, they could be used as tags for gifts, a way to decorate (they could be hung on a string with clothespins!), or as a simple gift for someone. Before I pack these Christmas ones away, I’m going to pin one on my bulletin board to keep a bit of Christmas around all year!
What You’ll Need:
(For dough mixture)
• Lage mixing bowl
• Spoon
• 2 cups flour
• 1 cup salt
• 1 cup warm water
• Parchment paper
• Rolling pin
• Cookie cutters
• Sheet pan
(optional) Glitter
(For hole at top)
• Pencil, marker, or toothpick
• String
(For decorating)
• Toothpick
• Textured items (fork, branches, leaves, etc)
• Stamps
• Stencils
• Paint/paintbrush
• Gems/glue
Directions:
1. In the bowl, combine the flour and salt and mix together. Slowly add the warm water, and stir until the mixture forms a dough. If you want to add glitter to your dough, you can add it now. Since the dough will be pretty thick, you may need to use your hands to fully blend the glitter in with the dough. You can divide your dough up if you want to use a few different colors of glitter.
2. Place parchment paper over your work area. Take small rounds of the dough and use the rolling pin to flatten to about 1/4” thick. Dust your work area with flour as needed to stop any stickiness.
3. Use the cookie cutters to cut the dough into shapes. You can leave some plain, or decorate with the toothpick, textured items, stamps, and stencils. Remember to create a hole at the top so you can put a string through it! To do this, I used the cap of a small maker, but you can use anything that can make a small circle.
4. Place the finished pieces on a parchment-lined sheet pan. Allow them to dry overnight. Don’t panic if they are not dry in the morning! If your ornaments are a little bit thicker in size, they may need to dry a day or two longer. It took about three days for my ornaments to dry, and I ended up flipping the ornaments over a few times so that both the back and front were able to access air.
5. Once completely dry, you can now decorate further by using paint or by gluing on any other items like gems. You can also now put a string through the hole at the top.
Here are some photos of the final product:
With strings attached
Hanging on Christmas Tree
Used as gift bag tag
I maybe wish I had played around with some textures on my ornaments, but I was quite thrilled with how they all turned out. I used a mixture of stamps and stencils, and also made a few blank ones to paint a design on. To do the letters, I used a stencil that had all the letters of the alphabet on a sheet, and used a scissor to cut them all out individually. Then I just pressed the letters I was going to use into the salt dough. I thought those were perfect for using as tags, and putting the person’s initial on!
Really there are so many ways to do this project. Plus is pretty cheap and easy to put together. The recipe makes quite a bit of dough (I ended up throwing some away) so it could easily be halved to create a smaller batch. I’ll have to see how well they hold up, but so far they have stayed intact and were a really fun addition to the Christmas tree this year. I think they would be fun to make a few for Valentine’s Day or Easter coming up!


No comments:
Post a Comment